Edsby enables support for List Groups which can be used for performing various actions on a set of students. List Groups are Edsby groups that students or parents never see they are a member of, but they appear as a normal group to teachers and administrators.
List Groups can be used for attendance or for mail list-type purposes like making a planned absence for all grade 8 students or messaging a specific group of parents and students. Additionally, a List Group could be used to group students for disciplinary or other reasons.
Creating a List Group
To create a List Group, click the pop-out in the My Groups panel or click Find More at the bottom of the My Groups panel. Click Create.
Set the group type to List Group. Name the group and provide a description of the group, if desired. Select moderators, permissions and membership for the group.
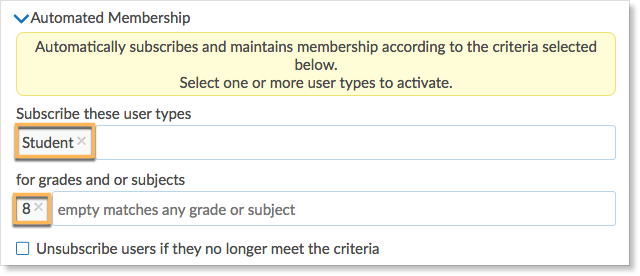
Automated membership can be used to automatically enrol certain user types into the list group, for example, all grade 8 students.
In this example, William Ham, principal of Tecumseh High, is creating a List Group for all students who are picked up along Bus Route B. He would like to be able to inform them of any changes that may occur to the bus route.
The group is private with closed membership as it is not necessary for other members in the school to have access to information regarding a different bus route than their own.
The group type is set to List Group, Beth Archer is added as a moderator of the group, and Mr. Ham will manually invite each of the students on the route so automated membership is not required.
Once the setup form is complete, click Create Group. This will add the group to Mr. Ham’s My Groups Panel as well as Beth Archer, the other moderator of the group.
Adding Staff and Students to the Group
After the group has been created, moderators can continue to add staff and students to the group.
To add students, click Add Students.
Type the names of the students who will be added to the group. Mr. Ham will add all students who are picked up along Bus Route B.
Click Add Student. The students will automatically be added to the group; however, they will not see the group in their My Groups panel and they will not know they are a member of the group.
To add staff members, click Add Staff.
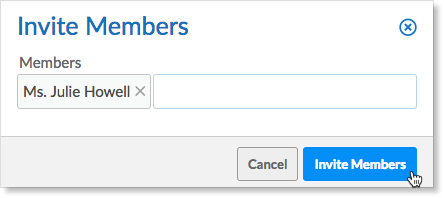
Type the names of the staff members who will be added to the group. Mr. Ham would like to add Julie Howell to the group as she is a bus monitor for this route.
Click Invite Members. This will send an invitation to Ms. Howell for her to Accept or Decline in her My Groups panel. Upon accepting, Ms. Howell will be able to enter the group.
Sending a message to members of a List Group
Moderators of a group can choose to send a message to members of the group as well as request permission. Other staff in the group can also send a message to members of the group if the moderator has allowed them to view the members panel.
Mr. Ham would like to inform all students who take bus route B and their parents that there will be a few changes to the bus route due to road construction. He will do this by sending them a message through Edsby.
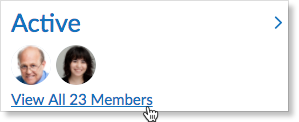
Click to view all members of the group.
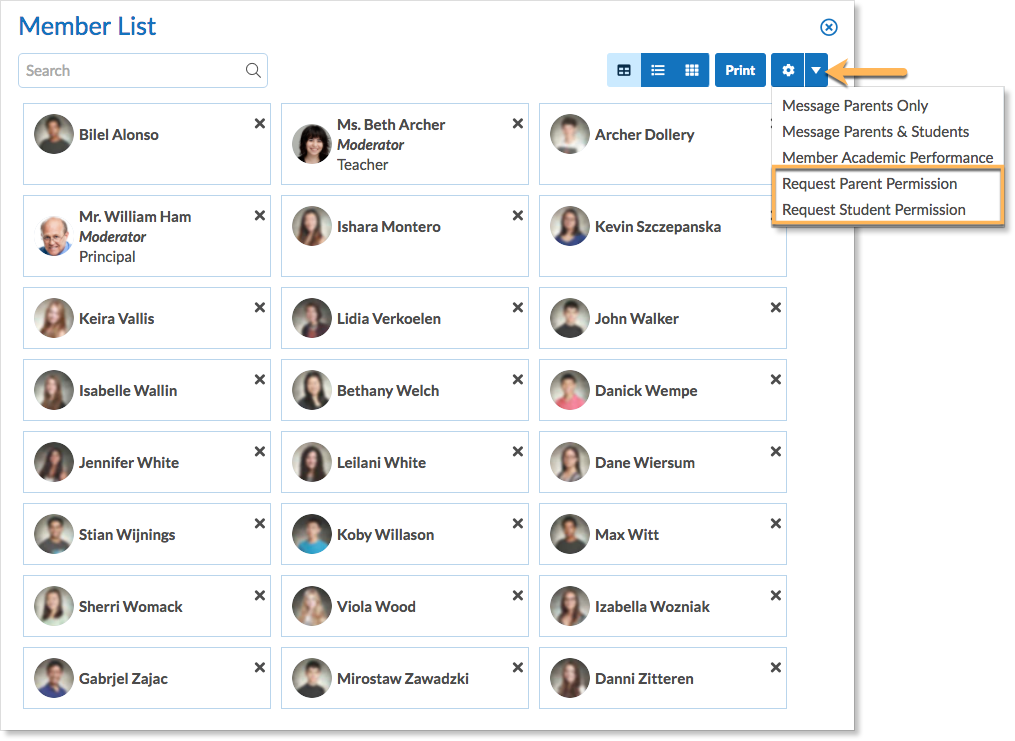
Click the drop-down arrow and select Message Parents and Students. Type a message and click Send. The message will be pre-addressed to every student and their parents.
Note: The only options for messaging are to Message Parents and Students or Message Parents Only, even if the group only contains students. Group moderators cannot message students only through the Group.
Printing a member list
A roster of those in the group can be printed also from the Members panel by choosing one of the templates and clicking print.
To request permission from students or parents, click the drop-down arrow and select one of the options from the menu.


